Live Patching on SLES 15
On SLES 15 systems and newer, live patching is managed by the klp livepatch tool.
Before you begin, ensure:
-
SUSE Manager is fully updated
-
You have one or more Salt clients running SLES 15 (SP1 or later)
-
Your SLES 15 Salt clients are registered with SUSE Manager
-
You have access to the SLES 15 channels appropriate for your architecture, including the Live Patching child channel (or channels)
-
The clients are fully synchronized
-
Select the client you want to manage with Live Patching from , and navigate to the tab. Search for the
kernel-livepatchpackage, and install it.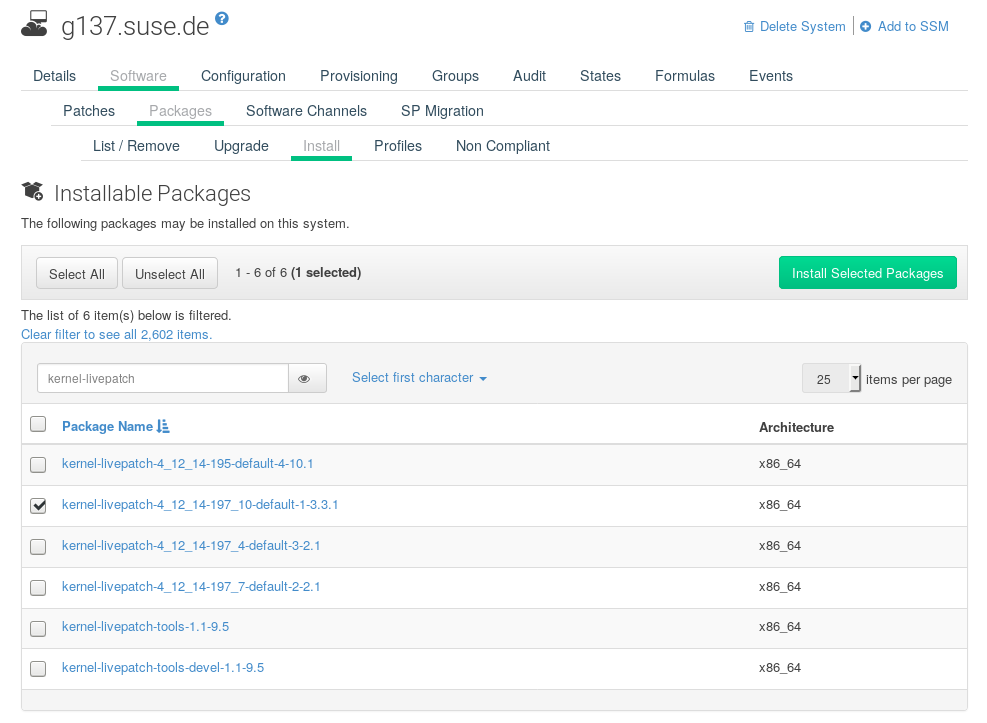
-
Apply the highstate to enable Live Patching, and reboot the client.
-
Repeat for each client that you want to manage with Live Patching.
-
To check that Live Patching has been enabled correctly, select the client from , and ensure that
Live Patchappears in theKernelfield.
When you have the Live Patching channel installed on the client, you can clone the default vendor channel. This cloned channel will be used to manage Live Patching on your clients.
Cloned vendor channels should be prefixed by dev for development, testing, or prod for production.
In this procedure, you will create a dev cloned channel, and later, you will need to promote the channel to testing.
-
At the command prompt on the client, as
root, obtain the current package channel tree:# spacewalk-manage-channel-lifecycle --list-channels Spacewalk Username: admin Spacewalk Password: Channel tree: 1. sles15-sp1-pool-x86_64 \__ sle-live-patching15-pool-x86_64-sp1 \__ sle-live-patching15-updates-x86_64-sp1 \__ sle-manager-tools15-pool-x86_64-sp1 \__ sle-manager-tools15-updates-x86_64-sp1 \__ sles15-sp1-updates-x86_64 -
Use the
spacewalk-manage-channelcommand with theinitargument to automatically create a new development clone of the original vendor channel:spacewalk-manage-channel-lifecycle --init -c sles15-sp1-pool-x86_64
-
Check that
dev-sles15-sp1-updates-x86_64is available in your channel list.
Check the dev cloned channel you created, and remove any kernel updates that require a reboot.
-
Check the current kernel version by selecting the client from , and taking note of the version displayed in the
Kernelfield. -
In the SUSE Manager Web UI, select the client from , navigate to the tab, and select
dev-sles15-spsp1-updates-x86_64. Navigate to thePatchestab, and click List/Remove Patches. -
In the search bar, type
kerneland identify the kernel version that matches the kernel currently used by your client. -
Remove all kernel versions that are newer than the currently installed kernel.
Your channel is now set up for Live Patching, and can be promoted to testing.
In this procedure, you will also add the Live Patching child channels to your client, ready to be applied.
-
At the command prompt on the client, as
root, promote and clone thedev-sles15-sp1-pool-x86_64channel to a new testing channel:# spacewalk-manage-channel-lifecycle --promote -c dev-sles15-sp1-pool-x86_64
-
In the SUSE Manager Web UI, select the client from , and navigate to the tab.
-
Check the new
test-sles15-sp3-pool-x86_64custom channel to change the base channel, and check both corresponding Live Patching child channels. -
Click Next, confirm that the details are correct, and click Confirm to save the changes.
You can now select and view available CVE patches, and apply these important kernel updates with Live Patching.
-
In the SUSE Manager Web UI, select the client from . You will see a banner at the top of the screen showing the number of critical and non-critical packages available for the client:

-
Click Critical to see a list of the available critical patches.
-
Select any patch with a synopsis reading
Important: Security update for the Linux kernel. Security bugs will also include their CVE number, where applicable. -
OPTIONAL: If you know the CVE number of a patch you want to apply, you can search for it in , and apply the patch to any clients that require it.
|
Not all kernel patches are Live Patches!
Non-Live kernel patches are represented by a |
|
Not all security issues can be fixed by applying a live patch. Some security issues can only be fixed by applying a full kernel update and will require a reboot. The assigned CVE numbers for these issues are not included in live patches. A CVE audit will display this requirement. |