System Set Manager Overview
This page contains links to most SSM option tabs with short explanations.
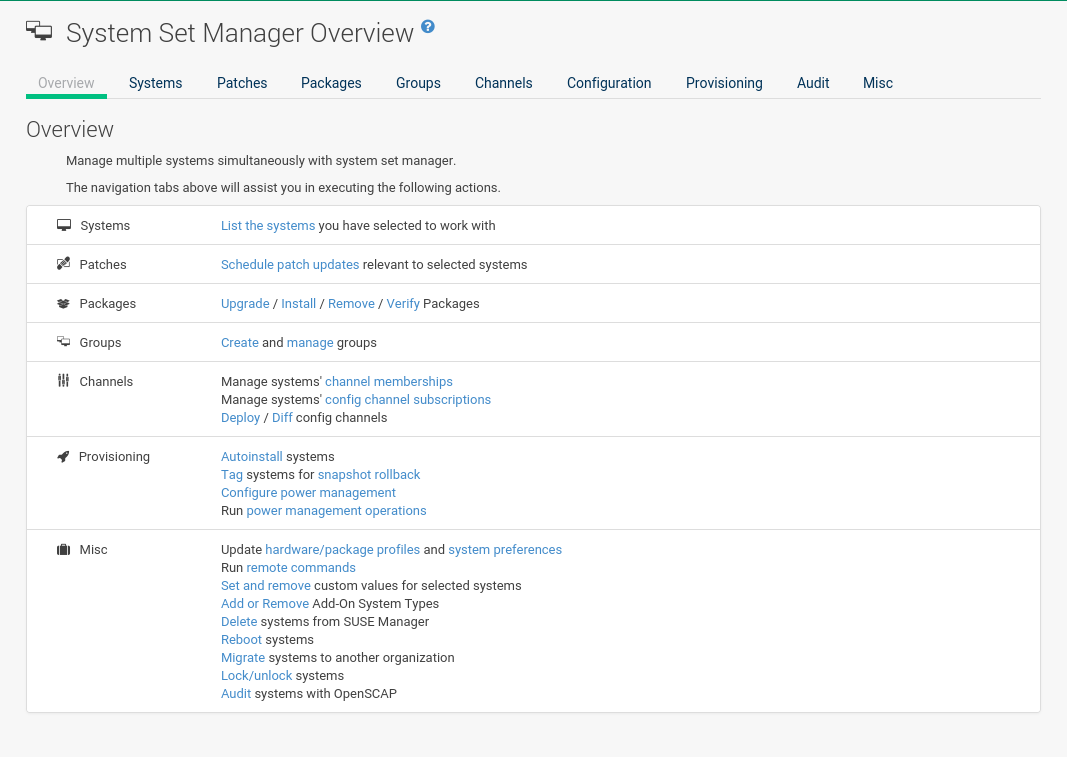
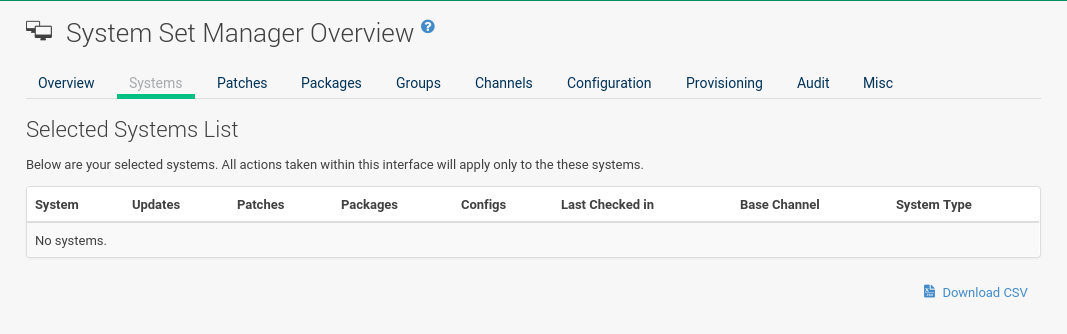
SSM Systems
List of selected systems.
SSM Patches
List of patch updates applicable to the current system set.
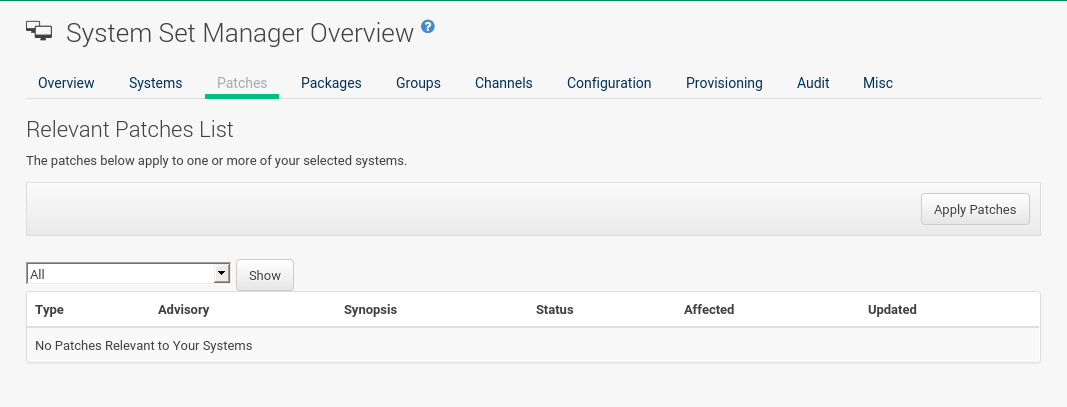
Click the number in the Systems column to see to which systems in the System Set Manager a patch applies. To apply updates, select the patches and click the Apply Patches button.
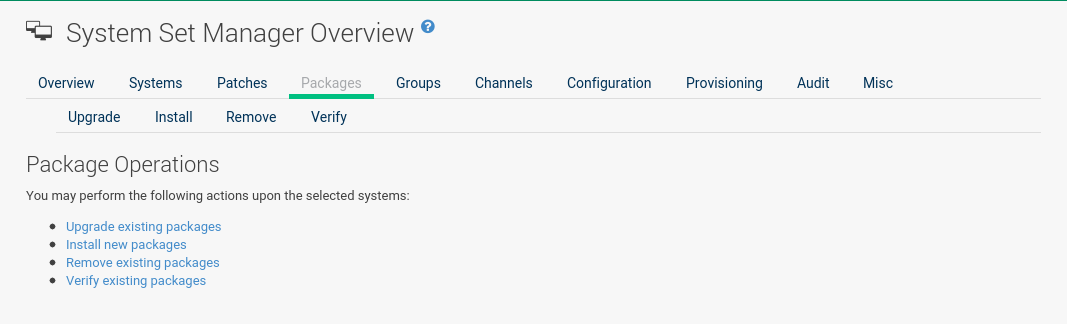
SSM Packages
Click the number in the Systems column to see the systems in the System Set Manager to which a package applies. Modify packages on the system via the following subtabs.
SSM Packages - Install
This list includes all channels to which systems in the set are subscribed. A package is only installed on a system if the system is subscribed to the channel providing the package.
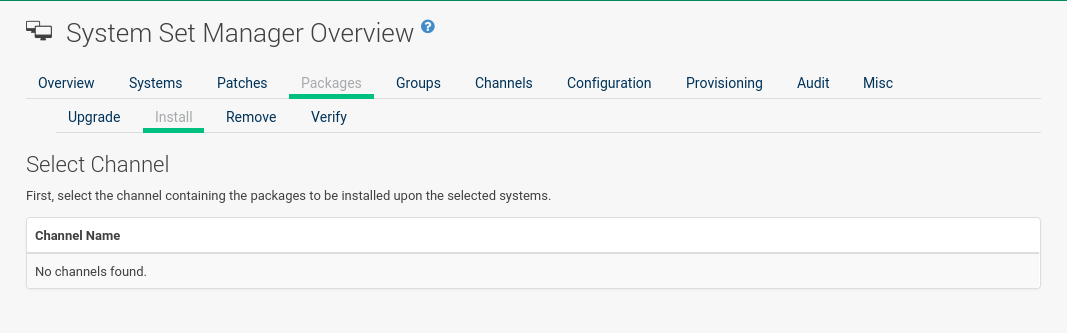
Click the channel name and select the packages from the list. Then click the Install Packages button.
SSM Packages - Remove
A list of all the packages installed on the selected systems that might be removed.
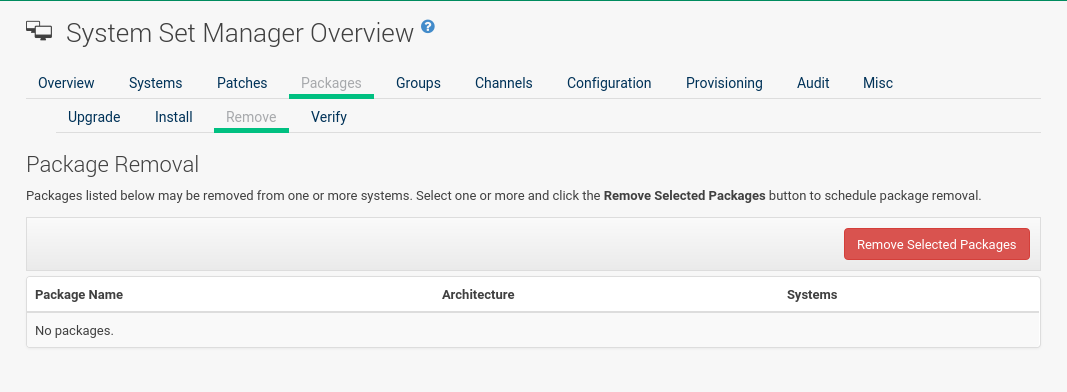
Multiple versions appear if systems in the System Set Manager have more than one version installed. Select the packages to be deleted, then click the Remove Packages button.
SSM Packages - Upgrade
A list of all the packages installed on the selected systems that might be upgraded.
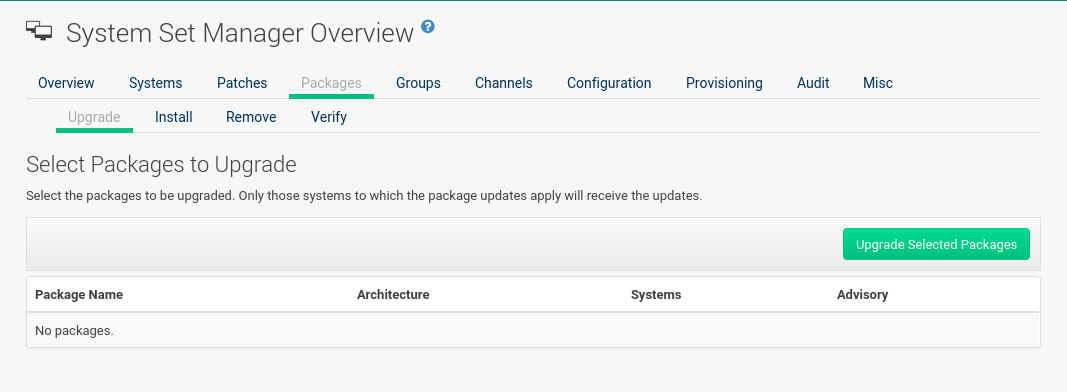
Systems must be subscribed to a channel providing the packages to be upgraded. If multiple versions of a package are available, note that your system will be upgraded to the latest version. Select the packages to be upgraded, then click the Upgrade Packages button.
SSM Packages - Verify
A list of all installed packages whose contents, file checksum, and other details may be verified.
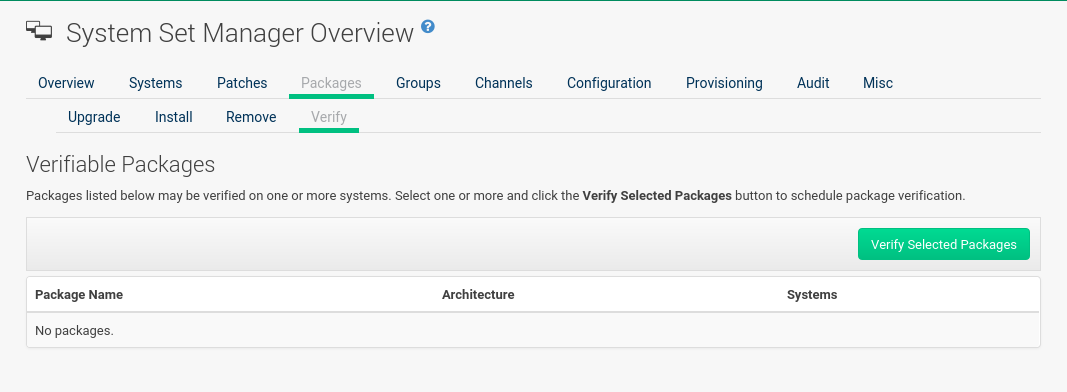
At the next check in, the verify event issues the command rpm --verify for the specified package.
If there are any discrepancies, they are displayed in the System Details page for each system.
Select the check box next to all packages to be verified, then click the Verify Packages button. On the next page, select a date and time for the verification, then click the Schedule Verifications button.
SSM Groups
Tools to create groups and manage system memberships.
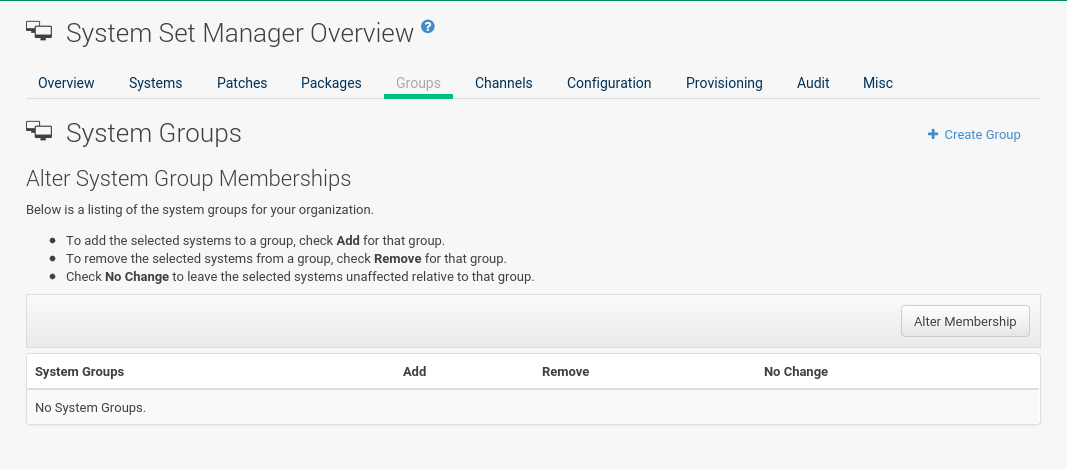
These functions are limited to SUSE Manager Administrators and System Group Administrators.
To add a new group, click Create Group on the top-right corner.
In the next page, type the group name and description in the respective fields and click the Create Group button.
To add or remove selected systems in any of the system groups, toggle the appropriate radio buttons and click the Alter Membership button.
SSM Channels
As a Channel Administrator, you may change the base channels your systems are subscribed to.
|
Changing the Channels Is Now an Action
Since the 3.1 maintenance update (2018) changing the channels is an action that can be scheduled like any other action. Earlier channel changes were applied immediately. |
Manage channel associations through the following wizard procedure:
Base Channel Alteration(Page 1)-
Valid channels are either channels created by your organization, or the vendor’s default base channel for your operating system version and processor type. Systems will be unsubscribed from all channels, and subscribed to their new base channels.
Changing Base ChannelThis operation can have a dramatic effect on the packages and patches available to the systems. Use with caution.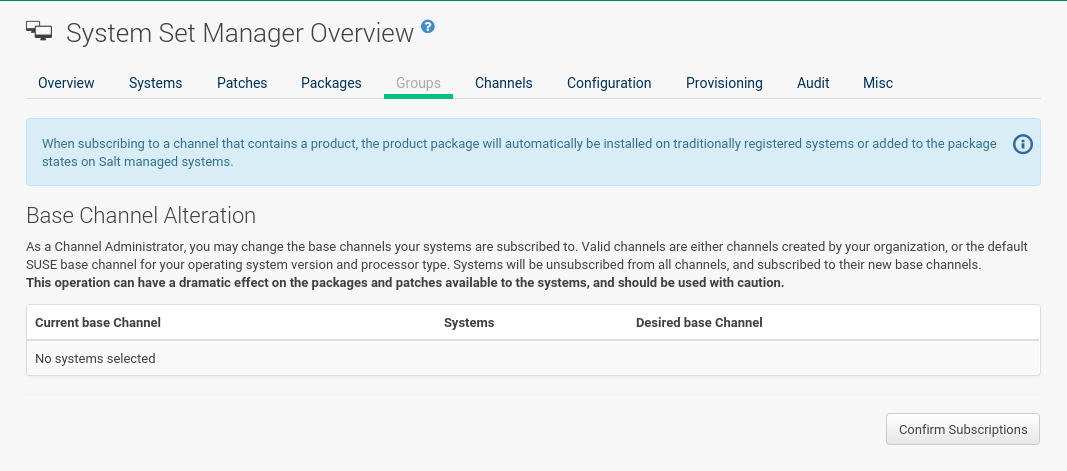
To change the base channel, select the new one from the
Desired base Channeland confirm the action.On the this wizard page you see the
Current base Channeland how manySystemsare subscribed to it. Click the number link in theSystemscolumn to see which systems are actually selected.To change the base channel subscription select the
Desired base Channelfrom the selection box. Then click Next in the lower left corner. Child Channels(Page 2)-
The
Child Channelspage allows you to subscribe and unsubscribe individual child channels related to its parent or base channel. Systems must subscribe to a base channel before subscribing to a child channel. If you enable with recommended, recommended child channels are automatically selected for subscription. The handling of required channels is currently not implemented for system set manager.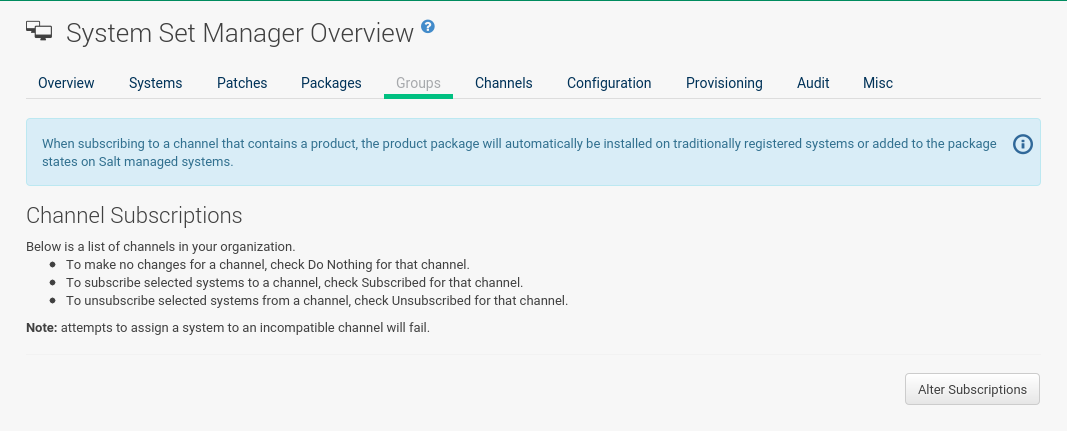
Change the child channel subscription on this page. Then click Next in the lower left corner.
Channel Changes Overview(Page 3)-
Schedule when the channel changes should take place the earliest. Then click Confirm in the lower left corner.
Channel Changes Actions(Page 4)-
See the scheduled change actions.
SSM Configuration
Like in the tab, the subtabs here can be used to subscribe the selected systems to configuration channels and deploy and compare the configuration files on the systems.
The channels are created in the Manage Config Channels interface within the category.
For channel creation instructions, see reference:configuration/config-channels.adoc.
To manage the configuration of a system, install the latest mgr-cfg* packages.
For instructions on enabling and disabling scheduled actions for a system, see Preparing Systems for Configuration Management.
SSM Configuration - Deploy Files
Use this subtab to distribute configuration files from your central repository on SUSE Manager to each of the selected systems.
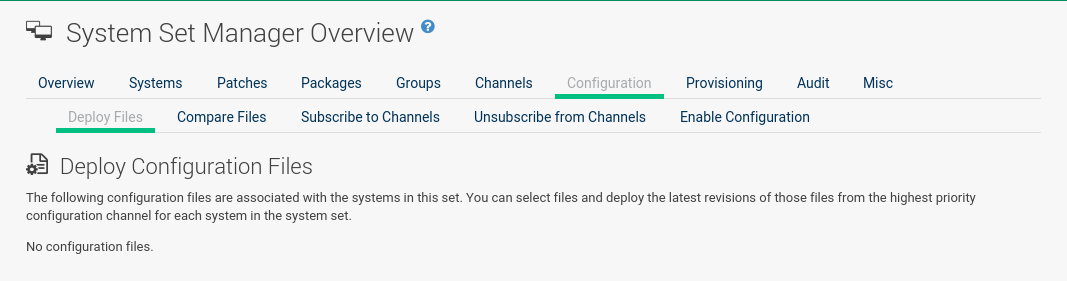
The table lists the configuration files associated with any of the selected systems. Clicking its system count displays the systems already subscribed to the file.
To subscribe the selected systems to the available configuration files, select the check box for each wanted file. When done, click Deploy Configuration and schedule the action. Note that the latest versions of the files, at the time of scheduling, are deployed. Newer versions created after scheduling are disregarded.
SSM Configuration - Compare Files
Use this subtab to validate configuration files on the selected systems against copies in your central repository on SUSE Manager.
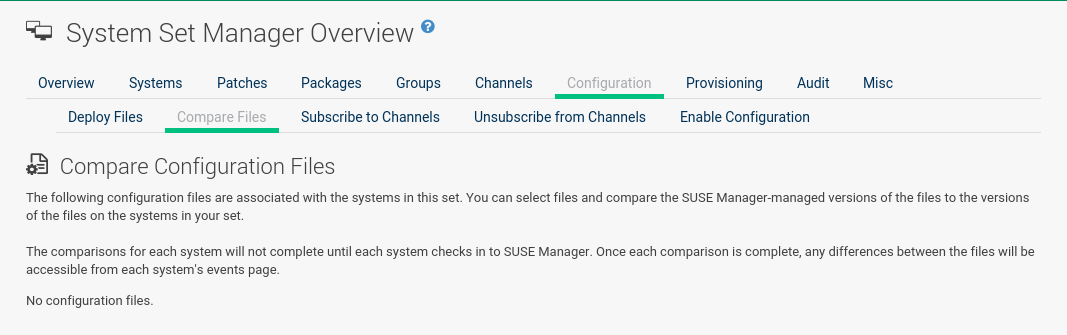
The table lists the configuration files associated with any of the selected systems. Clicking a file’s system count displays the systems already subscribed to the file.
To compare the configuration files deployed on the systems with those in SUSE Manager, select the check box for each file to be validated. Then click . The comparisons for each system will not complete until each system checks in to SUSE Manager. When each comparison is complete, any differences between the files will be accessible from each system’s events page.
Note that the latest versions of the files, at the time of scheduling, are compared. Newer versions created after scheduling are disregarded. Find the results in the main category or within the tab.
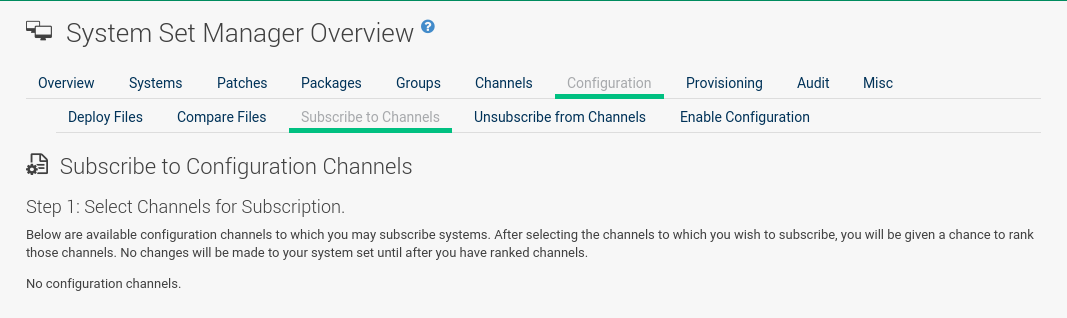
SSM Configuration - Subscribe to Channels
Subscribe systems to configuration channels, and in a second step rank these channels according to the order of preference. This tab is available only to SUSE Manager Administrators and Configuration Administrators.
-
Select channels for subscription by activating the check box. When done, confirm with Continue.
-
In the second step, rank the channels with the arrow-up or arrow-down symbols.
Then decide how the channels are applied to the selected systems. The three buttons below the channels reflect your options. Clicking Subscribe with Highest Priority places all the ranked channels before any other channels to which the selected systems are currently subscribed. Clicking Subscribe With Lowest Priority places the ranked channels after those channels to which the selected systems are currently subscribed. Clicking Replace Existing Subscriptions removes any existing association and creates new ones with the ranked channels, leaving every system with the same configuration channels in the same order.
Confliction RanksIn the first two cases, if any of the newly ranked configuration channels are already in a system’s existing configuration channel list, the duplicate channel is removed and replaced according to the new rank, effectively reordering the system’s existing channels. When such conflicts exist, you are presented with a confirmation page to ensure the intended action is correct. When the change has taken place, a message appears at the top of the page indicating the update was successful.Then, click Apply Subscriptions.
Channels are accessed in the order of their rank. Your local configuration channel always overrides all other channels.
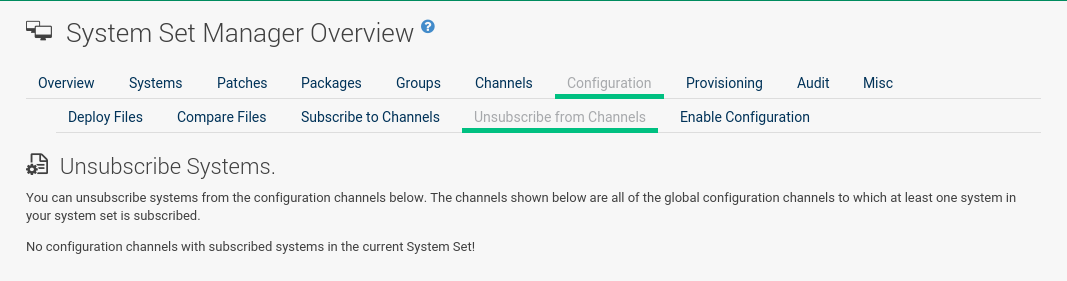
SSM Configuration - Unsubscribe from Channels
Administrators may unsubscribe systems from configuration channels by clicking the check box next to the channel name and clicking the Unsubscribe Systems button.
SSM Configuration - Enable Configuration
Registered systems without configuration management preparation will appear here in a list.
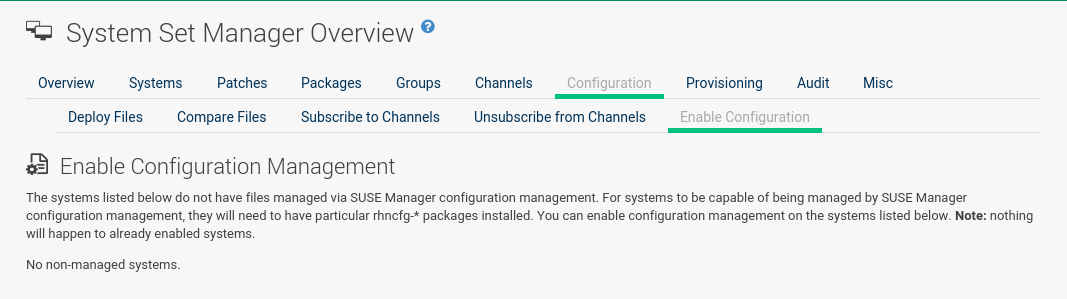
Administrators may enable configuration management by clicking the Enable SUSE Manager Configuration Management button.
You can also schedule the action by adjusting the Schedule no sooner than date and time setting using the drop-down box, then clicking Enable SUSE Manager Configuration Management.
Then the systems will get subscribed to the required SUSE Manager tools channel and required mgr-cfg* packages will get installed.
SSM Provisioning
Set the options for provisioning systems via the following subtabs.
SSM Provisioning - Autoinstallation
Use this subtab to reinstall clients.
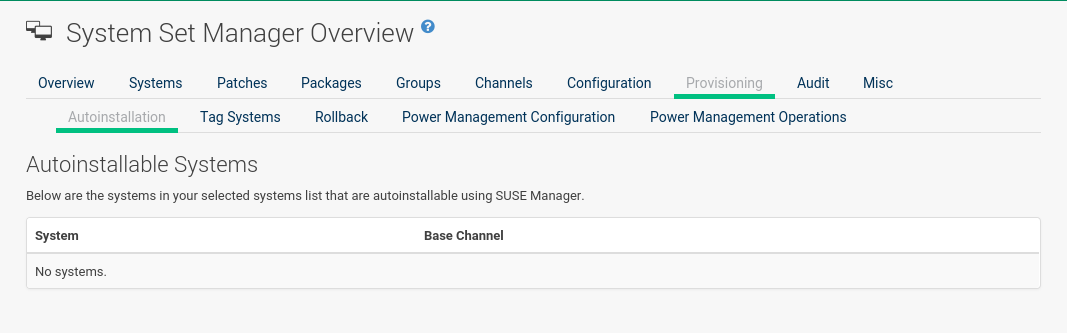
To schedule autoinstallations for these systems, select a distribution.
The autoinstallation profile used for each system in the set is determined via the Autoinstallable Type radio buttons.
Choose Select autoinstallation profile to apply the same profile to all systems in the set.
This is the default option.
You will see a list of available profiles to select from when you click Continue.
Choose Autoinstall by IP Address to apply different autoinstallation profiles to different systems in the set, by IP address.
To do so, at least two autoinstallation profiles must be configured with associated IP ranges.
If you use Autoinstall by IP Address, SUSE Manager will automatically pick a profile for each system so that the system’s IP address will be in one of the IP ranges specified in the profile itself.
If such a profile cannot be found, SUSE Manager will look for an organization default profile and apply that instead.
If no matching IP ranges nor organization default profiles can be found, no autoinstallation will be performed on the system.
You will be notified on the next page if that happens.
To use Cobbler system records for autoinstallation, select Create PXE Installation Configuration.
With PXE boot, you cannot only reinstall clients, but automatically install machines that do not have an operating system installed yet.
SUSE Manager and its network must be properly configured to enable boot using PXE.
For more information on Cobbler and Kickstart templates, see client-configuration:cobbler.adoc.
|
If a system set contains bare-metal systems and installed clients, only features working for systems without an operating system installed will be available. Full features will be enabled again when all bare-metal systems are removed from the set. |
If any of the systems connect to SUSE Manager via a proxy server, choose either the Preserve Existing Configuration radio button or the Use Proxy radio button.
If you choose to autoinstall through a proxy server, select from the available proxies listed in the drop-down box beside the Use Proxy radio button.
All of the selected systems will autoinstall via the selected proxy.
Click the Schedule Autoinstall button to confirm your selections.
When the autoinstallations for the selected systems are successfully scheduled, you will return to the System Set Manager page.
SSM Provisioning - Tag Systems
Use this subtab to add meaningful descriptions to the most recent snapshots of your selected systems.
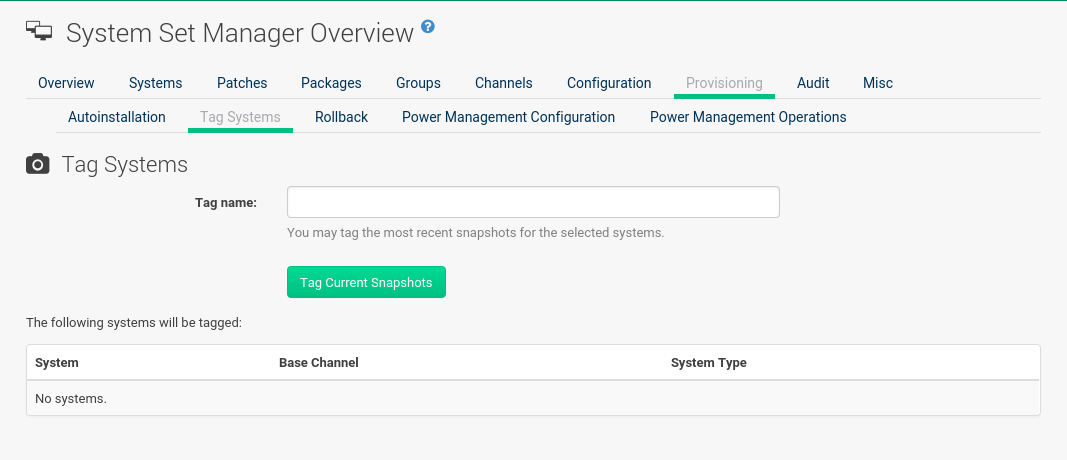
To tag the most recent system snapshots, enter a descriptive term in the Tag name field and click the Tag Current Snapshots button.
SSM Provisioning - Rollback
Use this subtab to rollback selected systems to previous snapshots marked with a tag.
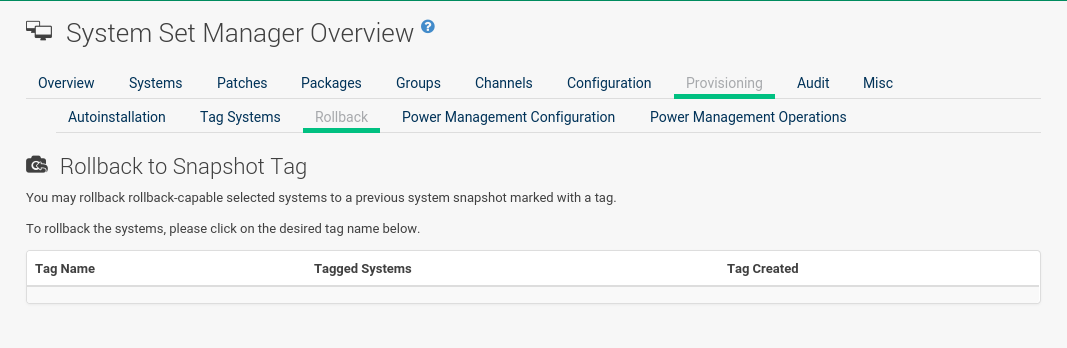
Click the tag name, verify the systems to be reverted, and click the Rollback Systems button.
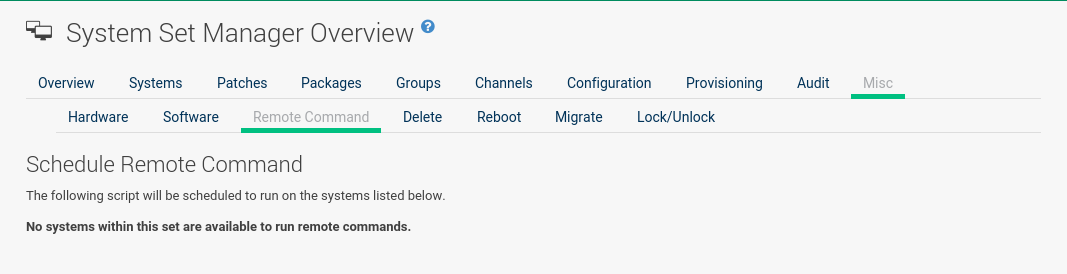
SSM Provisioning - Remote Command
Use this subtab to issue remote commands.
First create a run file on the client systems to allow this function to operate.
For instructions, see reference:systems/system-details/sd-remote-command.adoc.
Then identify a specific user, group, timeout period, and the script to run.
Select a date and time to execute the command and click Schedule.
SSM Audit
System sets can be scheduled for XCCDF scans; XCCDF stands for “The Extensible Configuration Checklist Description Format”.
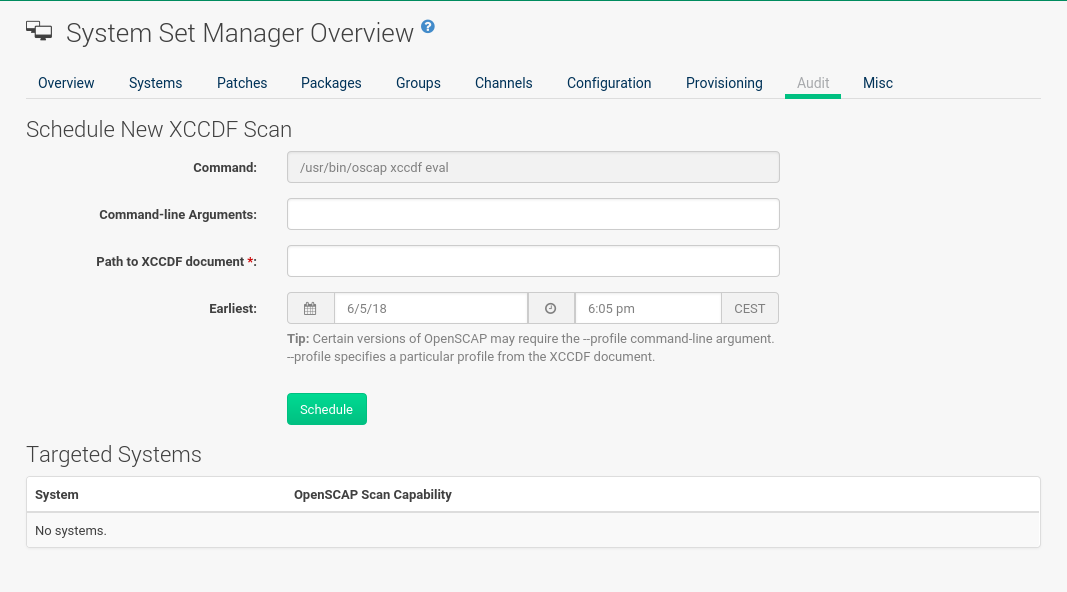
Enter the command and command line arguments, and the path to the XCCDF document. Then schedule the scan. All target systems are listed below with a flag whether they support OpenSCAP scans. For more details on OpenSCAP and audits, see reference:audit/audit-menu.adoc.
SSM - Misc
On the Misc page, you can modify Custom System Information.
Click Set a custom value for selected systems, then the name of a key.
Enter values for all selected systems, then click the Set Values button.
To remove values for all selected systems, click Remove a custom value from selected systems, then the name of the key.
Click the Remove Values button to delete.
Set System Preferences via the respective radio buttons.
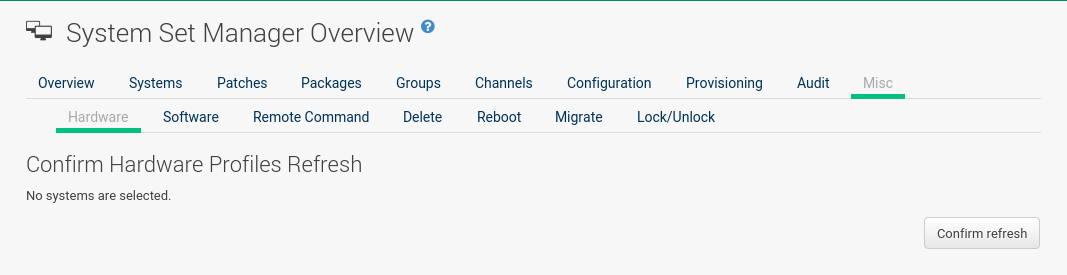
SSM Misc - Hardware
Click the Hardware subtab to schedule a hardware profile refresh.
Click Confirm Refresh.
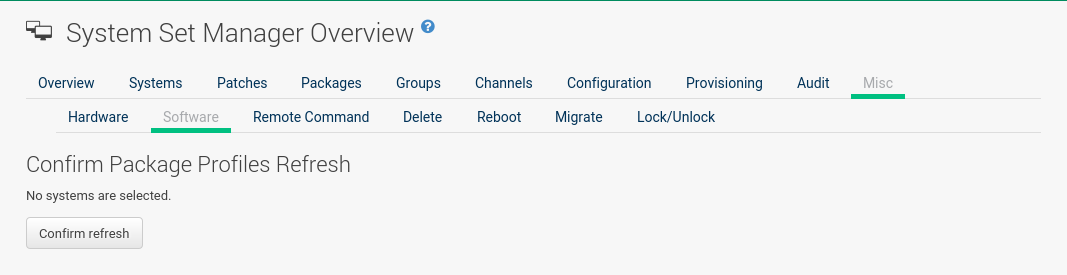
SSM Misc - Software
Click the Software subtab, then the Confirm Refresh button to schedule a package profile update of the selected systems.
SSM Misc - Lock/Unlock
Select the Lock/Unlock subtab to select systems to be excluded from package updates.
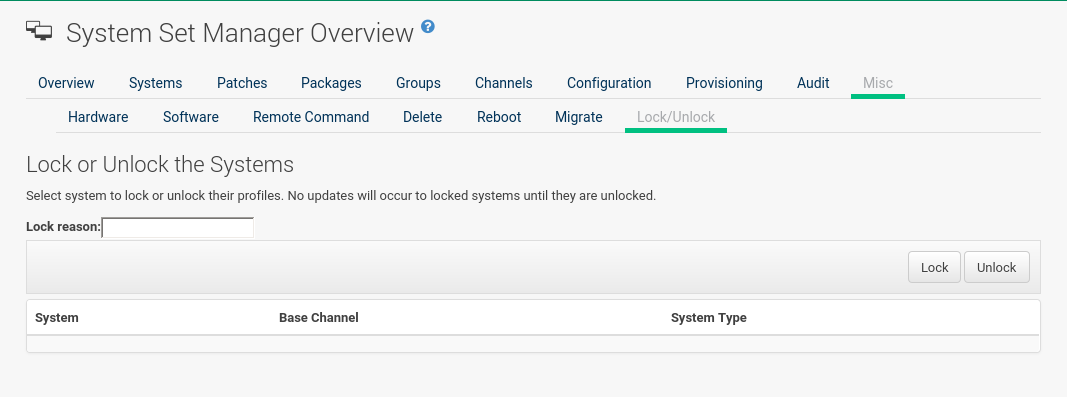
Enter a Lock reason in the text box and click the Lock button.
Already locked systems can be unlocked on this page.
Select them and click Unlock.
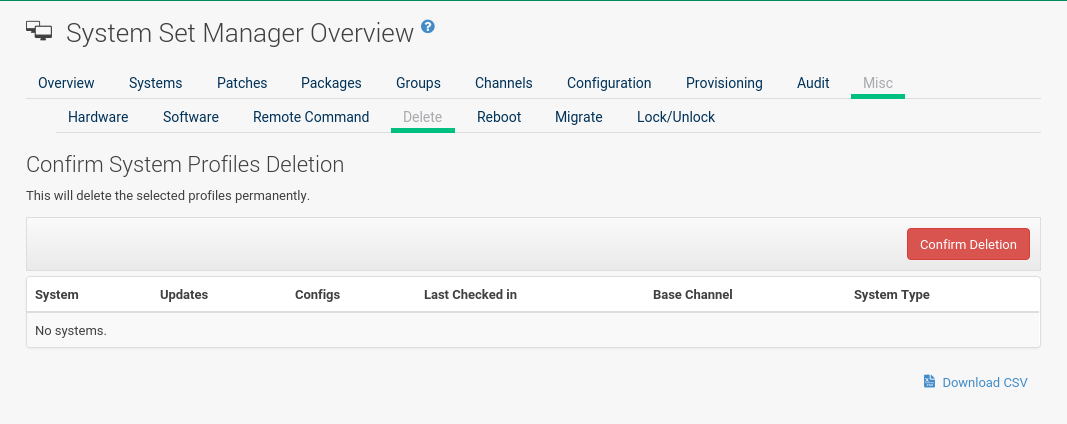
SSM Misc - Delete
Click the Delete subtab, to remove systems by deleting their system profiles.
Click the Confirm Deletion button to remove the selected profiles permanently.
SSM Misc - Reboot
Select the appropriate systems, then click the Reboot Systems link to select these systems for reboot.
For information about how to cancel a reboot action, see reference:schedule/pending-actions.adoc.