Installing SUSE Manager 4.0 Server
SUSE Manager 4.0 is a SUSE product within the SUSE Linux Enterprise 15 product family. This section describes how to install SUSE Manager Server from the SUSE Linux Enterprise installation media. For this topic we assume that you have already registered your SUSE Manager product with SUSE Customer Center and have obtained a registration code.
For information on registering with SUSE Customer Center, retrieving your organization credentials from SUSE Customer Center, or obtaining installation media, see general-requirements.adoc.
|
Before installing SUSE Manager, ensure your physical or virtual machine has enough disk space and RAM by checking the requirements at Hardware. |
-
Boot your system with the Unified Installer. If booting fails you might need to adjust the boot order in the BIOS.
-
When prompted, select
Installation.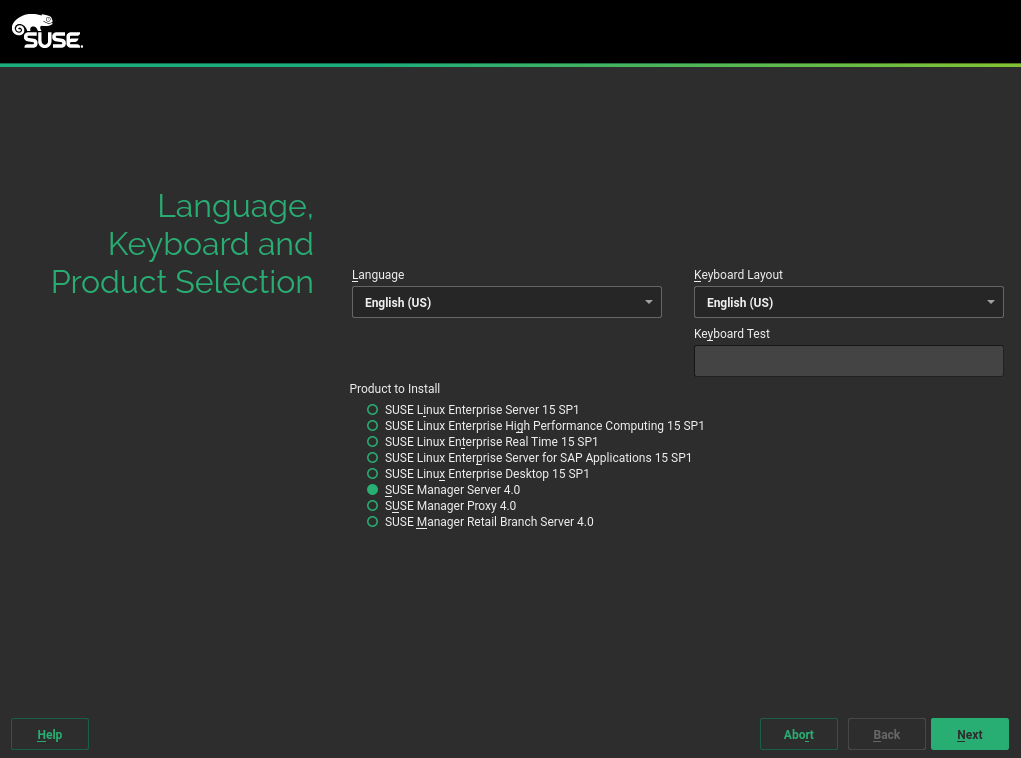
-
In the
Language, Keyboard and Product Selectionscreen, check theSUSE Manager Servercheckbox, and click Next. -
Read and agree to the End User Licence Agreement, and click Next.
-
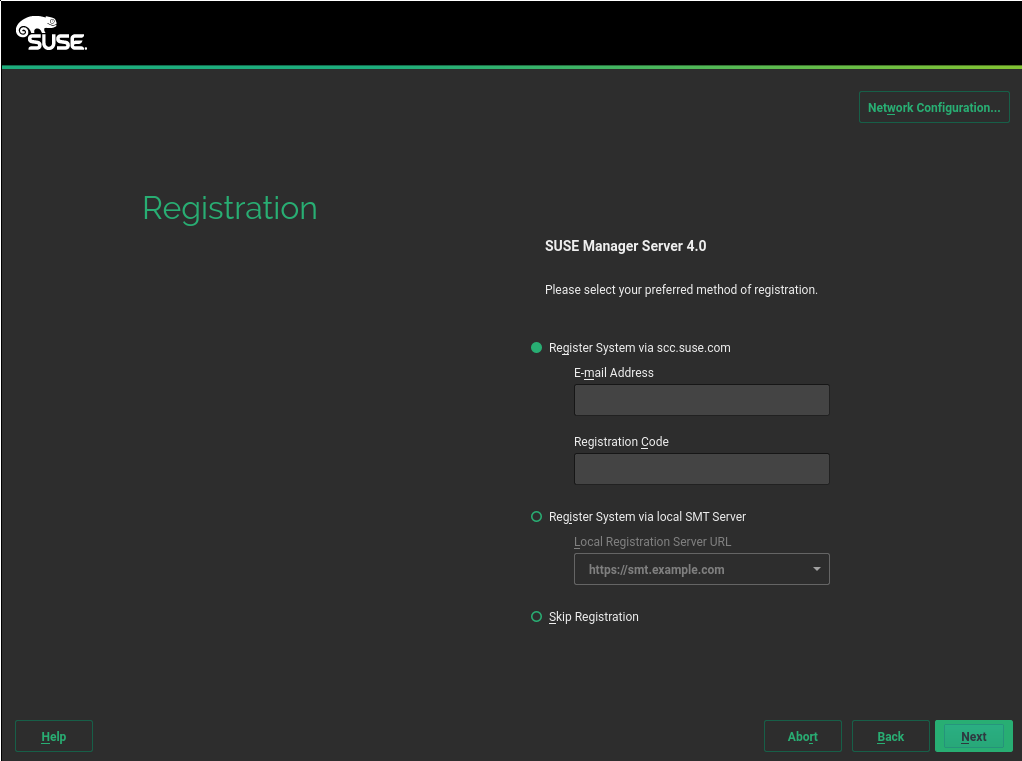
In the
Registrationscreen, check theRegister System via scc.suse.comcheckbox, enter your SUSE Customer Center credentials, and click Next.
-
In the
Extension and Module Selectionscreen, select additional extensions or modules you require, and click Next. Mandatory modules are pre-selected and you cannot disable them.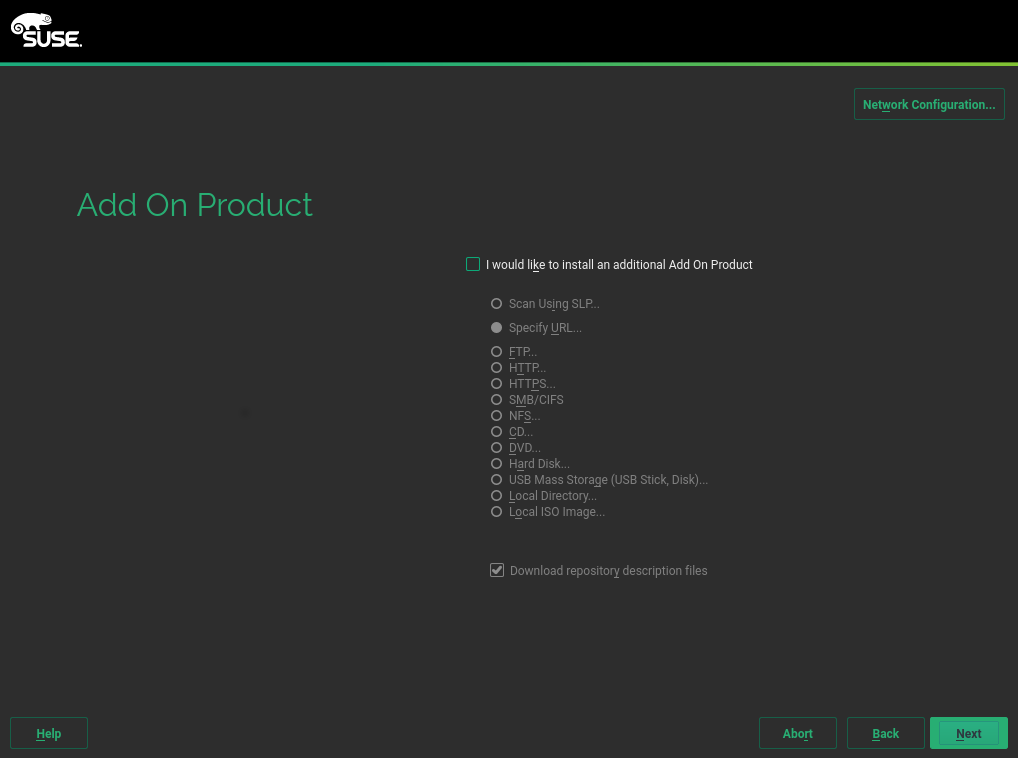
-
OPTIONAL: In the
Add On Productscreen, select any additional or add-on products you require, and click Next. We do not recommend that you run any other workloads on SUSE Manager. Only use add-ons that you absolutely require, such as driver repositories from your hardware vendor. -
In the
System Rolescreen, check theSUSE Manager Servercheckbox, and click Next. -
In the
Suggested Partitioningscreen, either accept the default values, or use the Guided Setup or Expert Partitioner options to customize your partitioning model, and click Next. -
In the
Clock and Time Zonescreen, enter your region and timezone, and click Next. -
In the
Local Usersscreen, create a new user, and click Next. -
In the
System Administrator "root"screen, create the "root" user, and click Next. -
Review the settings on the
Installation Settingsscreen.Graphical Desktop EnvironmentThe default SUSE Manager server installation does not enable a graphical desktop environment. If you want to run setup tools such YaST with a graphical interface local on the SUSE Manager server, click
Softwareand select theX Window Systempattern.On the
Installation Settingsscreen click Install.
When the installation procedure has finished, you can check that you have all the required modules by using the SUSEConnect --status-text command at a command prompt.
For SUSE Manager Server, the expected modules are:
-
SUSE Linux Enterprise Server Basesystem Module
-
Python 2 Module
-
Server Applications Module
-
Web and Scripting Module
-
SUSE Manager Server Module