Deploy Terminals
When you have the SUSE Manager Server and Branch Server set up, you are ready to deploy point-of-service terminals by following these steps:
-
Create hardware type groups
-
Assign and configure the Saltboot formula for each hardware type group
-
Synchronize images to the branch server
-
Deploy images to the terminals
Each procedure is detailed in this section.
If you have many terminals, and would prefer this to be handled with a script, see retail:retail-mass-config.adoc.
Before terminals can be deployed, ensure you have prepared a Saltboot-based operating system image. For how to build OS images, see administration:image-management.adoc.
|
After you have registered new terminals, always check the SUSE Manager Web UI to ensure your terminals have connected successfully to the branch server, and not directly to the SUSE Manager Server by mistake. |
Create A Hardware Type Group
Each terminal requires a specific hardware type, which contains information about the product name and terminal manufacturer. However, at the beginning, the SUSE Manager database does not have this information. To tell SUSE Manager what image to deploy on each terminal, you can set hardware type groups. After you have created your new hardware type group, you can apply the Saltboot formula to the group and configure it for your environment.
Hardware types allow you to group devices according to manufacturer and device name. Then, all devices of a particular type can be managed as one.
Empty profiles can be assigned to a hardware type group either before or after registration. If an empty profile is not assigned to a hardware type group before registration, it will be assigned to group that best matches the product information available to it.
For this procedure, you will require the system manufacturer name and product name for your terminal.
-
Determine the hardware type group name. Prefix the name with
HWTYPE:, followed by the system manufacturer name and product name, separated by a hyphen. For example:HWTYPE:POSVendor-Terminal1
Only use colons (
:), hyphens (-) or underscores (_) in hardware type group names. Spaces and other non-alphanumeric characters will be removed when the name is processed. -
In the SUSE Manager Web UI, navigate to , and click the Create Group button.
-
In the
Create System Groupdialog, create a new system group, using the hardware type group name you created earlier.
Assign and Configure the Saltboot Formula for Each Hardware Type Group
Each hardware type group must have the Saltboot formula applied.
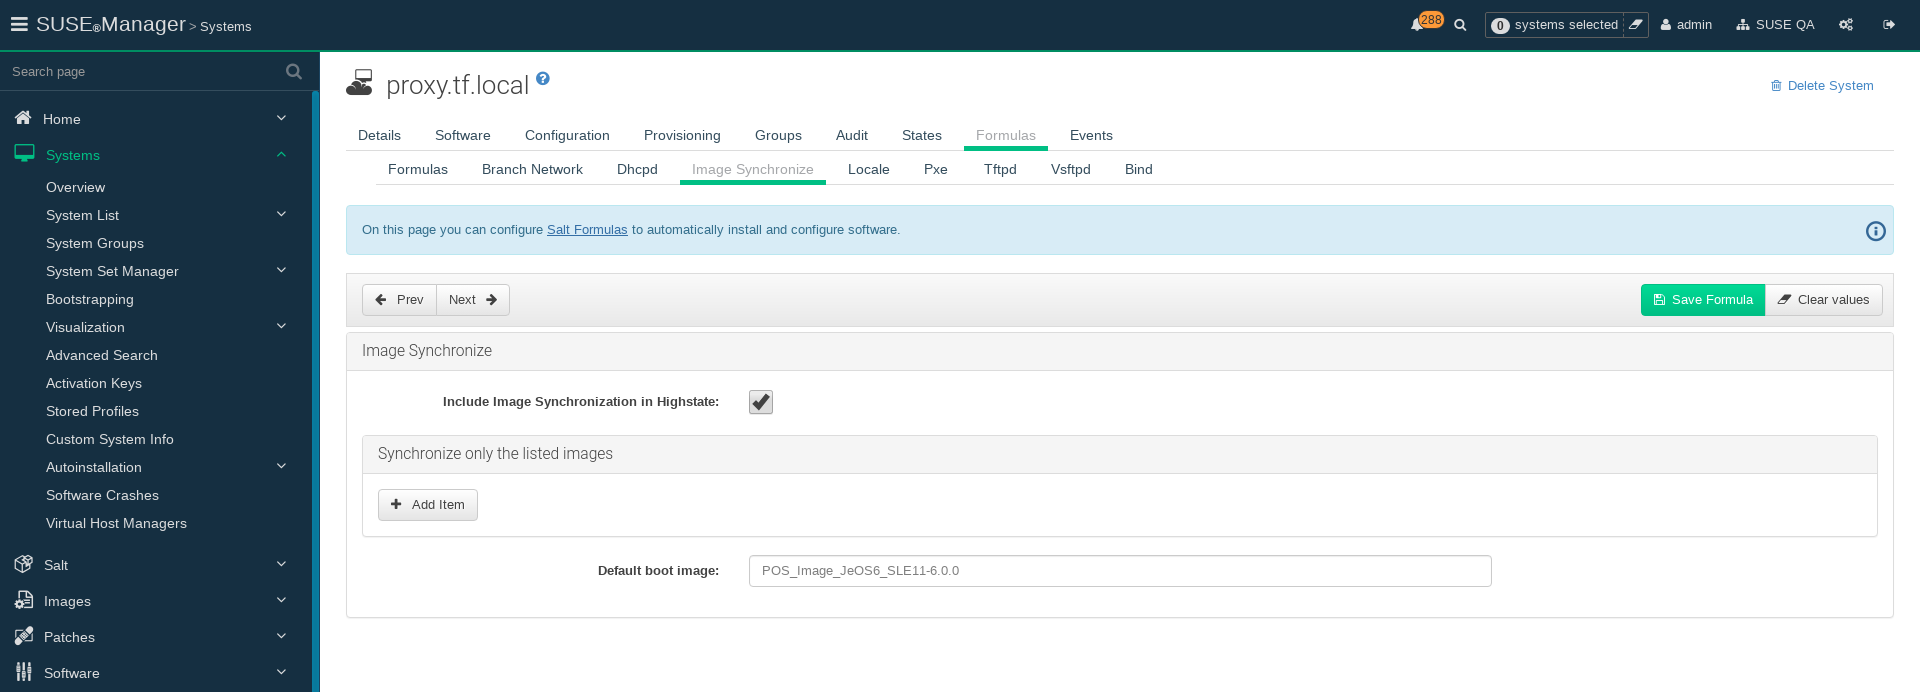
Synchronize Images to the Branch Server
-
On the SUSE Manager server, run this command:
salt <branch_server_salt_id> state.apply image-sync
Using a 32-bit Default Boot Image
If you have 32-bit machines included in your branch, then you must use a 32-bit default boot image.
You can check the available boot images and their architecture from the command line:
salt "branch" pillar.get boot_images
Output:
POS_Image_JeOS6-6.0.0:
      ----------
      arch:
          x86_64
      ...
legacy-6.0.0:
      ----------
      arch:
          i686
In this example, the legacy-6.0.0 boot image is 32-bit.
You can set the default boot image in the Image Synchronization formula on the branch server, by adding the chosen boot image name to the Default boot image field.
Deploy Images to the Terminals
-
Power on your POS terminals.
-
The branch server will bootstrap the terminals according to the data you have provided.