Create and Edit Patches
To create a custom patch alert, proceed as follows:
-
Click . Then on the
Patches Managementpage, clickCreate Patch.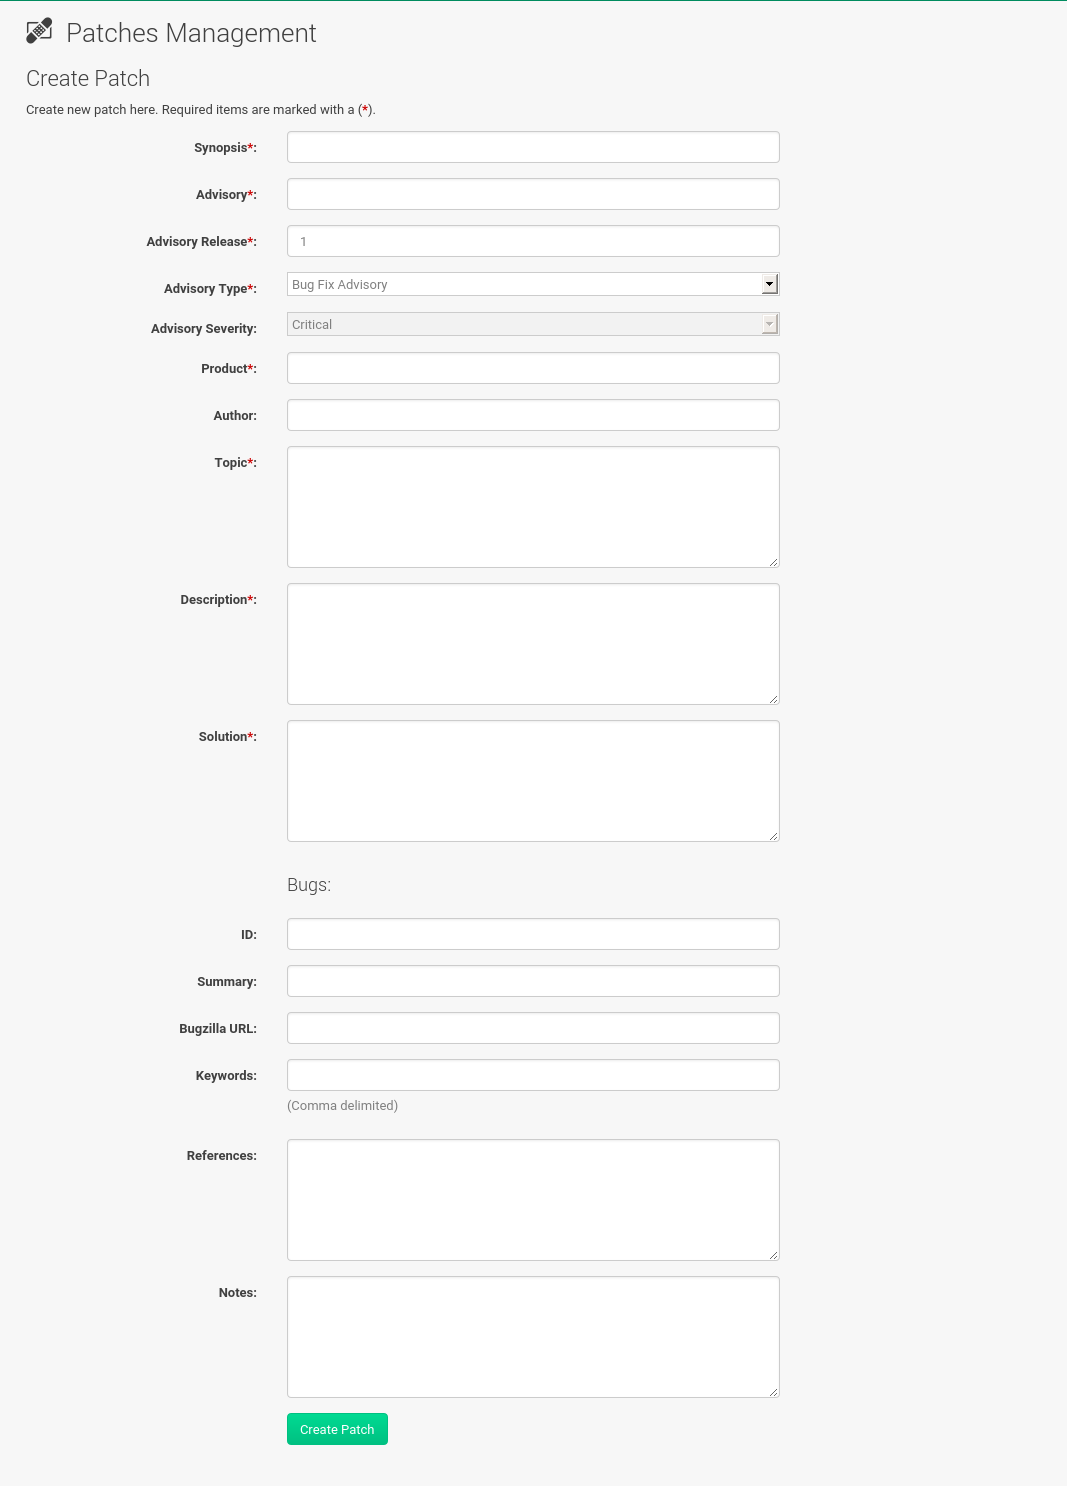
-
Enter a label for the patch in the
Advisoryfield, ideally following a naming convention adopted by your organization. -
Complete all remaining required fields, then click the Create Patch button. View standard SUSE Alerts for examples of properly completed fields.
Patch management distinguishes between published and unpublished patches.
-
Published: this page displays the patch alerts the organization has created and disseminated. To edit an existing published patch, follow the steps described in Assigning Packages to Patches. To distribute the patch, click Send Notification in theSend Patch Mailsection on the top of thePatch Detailspage. The patch alert is sent to the administrators of all affected systems. -
Unublished: this page displays the patch alerts your organization has created but not yet distributed. To edit an existing unpublished patch, follow the steps described in Assigning Packages to Patches. To publish the patch, click Publish Patch on the top-right corner of thePatch Detailspage. Confirm the channels associated with the patch and click the Publish Patch button, now in the lower-right corner. The patch alert is moved to thePublishedpage awaiting distribution.
SUSE Manager administrators can also create patches by cloning an existing one. Cloning preserves package associations and simplifies issuing patches. See Clone Patches for instructions.
To edit an existing patch alert’s details, click its advisory on the Patches Management page, make the changes in the appropriate fields of the Details tab, and click the Update Patch button.
Click the Channels tab to alter the patch’s channel association.
Click the Packages tab to view and modify its packages.
To delete patches, select their check boxes on the Patches Management page, click the Delete Patches button, and confirm the action.
Deleting published patches might take a few minutes.
Assigning Packages to Patches
To assign packages to patches, proceed as follows:
-
Select a patch, click the
Packagestab, then theAddsubtab. -
To associate packages with the patch being edited, select the channel from the
Viewdrop-down box that contains the packages and click View. Packages already associated with the patch being edited are not displayed. SelectingAll managed packagespresents all available packages. -
After clicking View, the package list for the selected option appears. Note that the page header still lists the patch being edited.
-
In the list, select the check boxes of the packages to be assigned to the edited patch and click Add Packages.
-
A confirmation page appears with the packages listed. Click Confirm to associate the packages with the patch. The
List/Removesubtab of theManaged Patch Detailspage appears with the new packages listed.
When packages are assigned to a patch, the patch cache is updated to reflect the changes. This update is delayed briefly so that users may finish editing a patch before all the changes are made available. To initiate the changes to the cache manually, follow the directions to Commit the Changes Immediately at the top of the page.
Publishing Patches
After adding packages to the patch, the patch needs to be published to be disseminated to affected systems. Follow this procedure to publish patches:
-
On the top navigation bar, click to see all the unpublished patches listed.
-
Click the patch
Advisoryname to open the patch details pages. -
On the patch details page, click Publish Patch. A confirmation page appears that will ask you to select which channels you want to make the patch available in. Choose the relevant channels.
-
At the bottom of the page, click Publish Patch. The patch published will now appear on the
Publishedpage ofManage Patches.